Frustum (Truncated Cone) Calculator
Use the form below to enter the 3 values and the results of the others will be shown.
I decided to create this page because I knew the height and the two circle cut-out widths for creating my Bender hands.
The problem was, I didn't know how to draw the pattern.
I eventually used Google Sketchup to build a 3D image and imported it into Pepakura, printed out the flat design, taped/cut it onto my foam, and then cut out the shapes.
I figured there had to be some way to calculate the shape so I could just draw it out and cut.
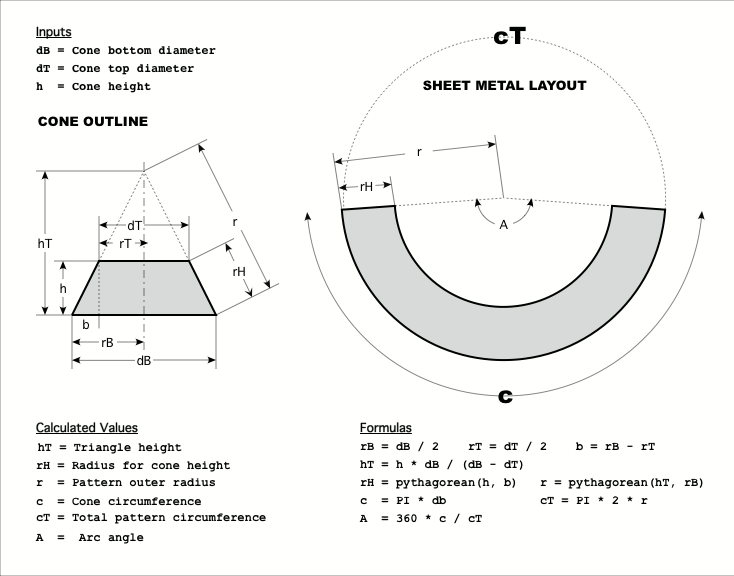
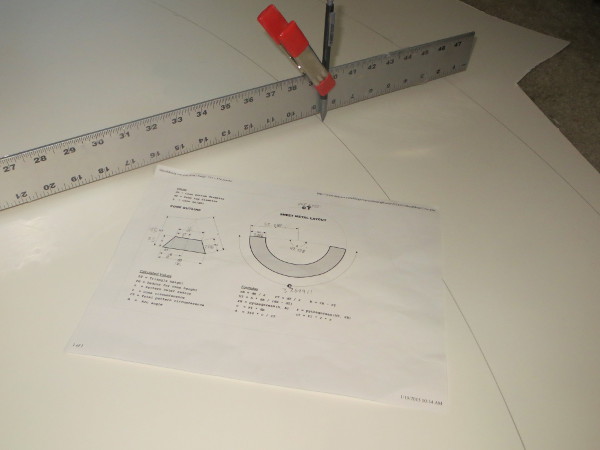
What I needed was the length of line
r, the length of
rH and
c or the degree of
A.
|
|
Enter the following 3 values for results.
Example using 10" Diameter top hole, 12" bottom, and 7.5" tall.
The original hand drawn way of doing this was found on homedistiller.org, but I wanted to be able to figure out the total height then I could use a compass to draw it out on a piece of sintra/foam.
Some online calculators had some of the formulas but not everything I needed. Then I came across the image above and created this page to calculate everything I needed.
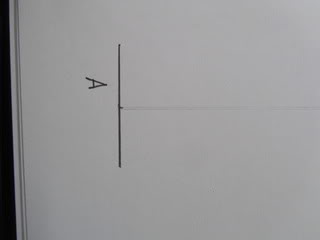
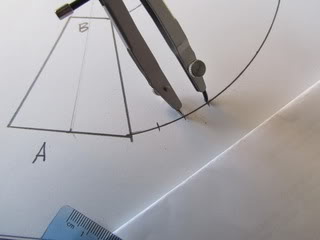
1. You know how long your frustum needs to be, how wide you want it at the base and how wide you want it at the shnozzle end. Draw the base of your frustum. A frustum is a portion of a cone, or a cone with the tip chopped off. I have marked the base here "A".
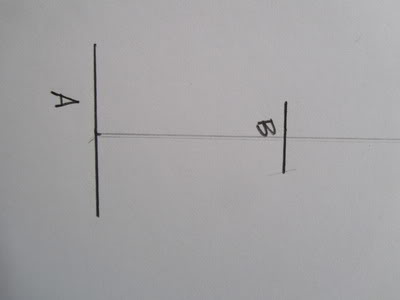
2. At 90 degrees to the middle of your base "A", draw a line the length you want you frustum. At the top of this, and parallel with "A", draw the schnozzle end of your frustum, "B".
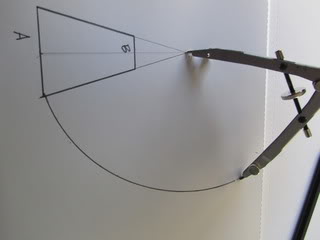
3. Draw straight lines from each end of "A", to the corresponding end of "B", but carry the lines through until they meet. What you are doing is drawing the cone/triangle from which the frustum is derived.
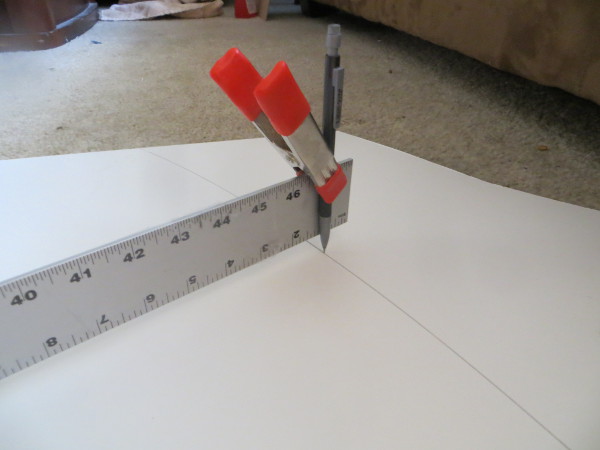
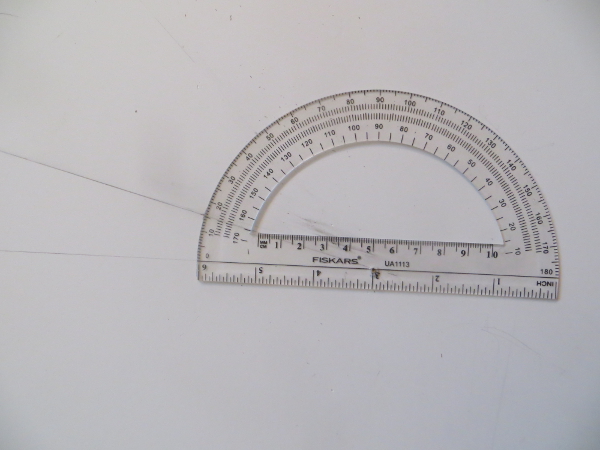
4. Put the pointy end of your compass at the tip of the cone, and draw an arc outwards from one end of "A". Be aware that your compass needs to be as big as the frustum you are making. For our applications, this equates to a pretty big compass. However, the compass can be substituted by a piece of string, or a piece of more solid material with 2 holes drilled in it, 1 where the pointy bit needs to be and 1 where the pencil goes. These substitutes will not be as accurate.
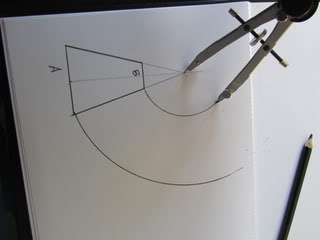
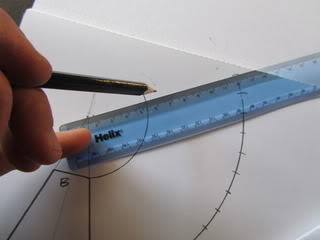
5. Draw a similar arc outwards from "B", from the same side as you drew the arc out on "A".
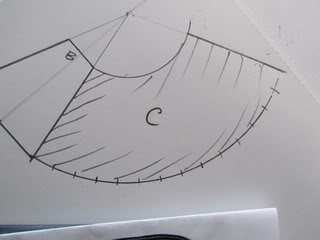
6. Now, multiply the length of "A" by "pi". "Pi" is an endless number that relates the radius/diameter of a circle to its circumference. For our purposes, "pi" can be understood to be around 3.142.
E.G. If the base of my frustum is 200mm in diameter (i.e. the length of "A" is 200mm), then the circumference of the base of my frustum, multiplied by 3.142, is going to be 628mm.
Okay, so now you have your circumference. Let's say it's 628mm. Divide that number by an arbitrary number, let's say 20. That gives us 31.4mm.
Now set your compass at that distance, e.g. 31.4mm. Now starting where the arc begins, "walk" your compass along the arc 20 times. That will give you frustum's base circumference measured out on your arc.
N.B. The greater the arbitrary number you divide circumference by, the greater your accuracy (and the greater the pain in your arse).
7. Then, when you have measured the circumference out on the arc, draw a straight line from the final mark to the apex of the cone/triangle.
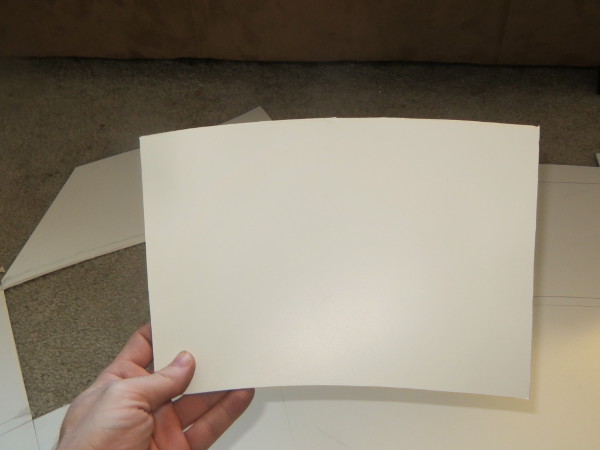
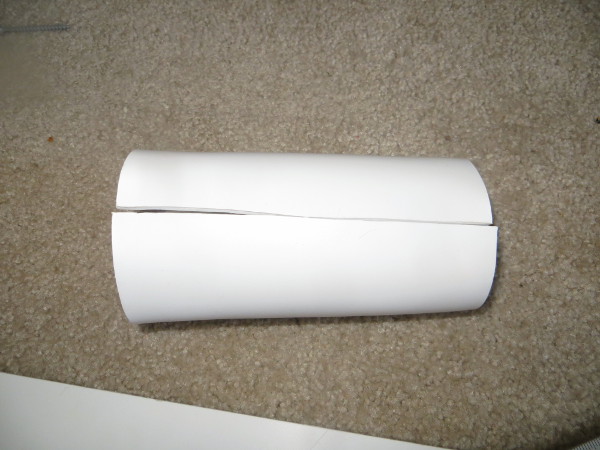
8. And that's it, the pattern for your frustum, "C";
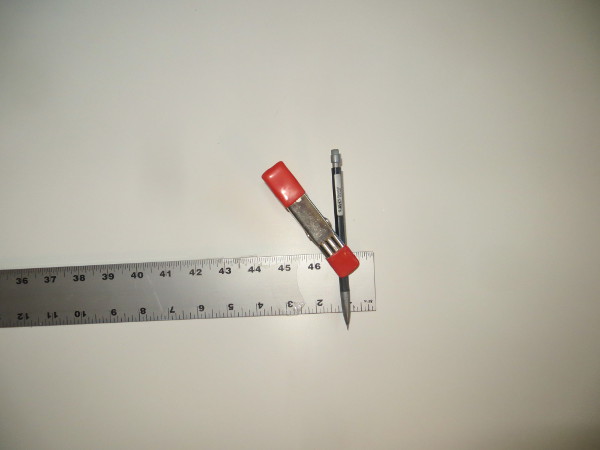
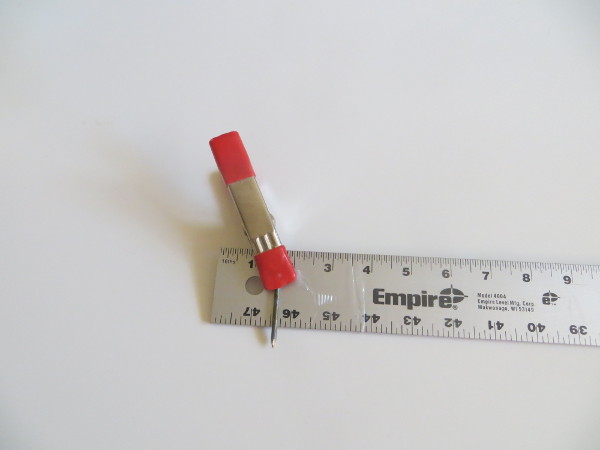
How to make your own compass: